
There is not much else in the world that is more satisfying than starting your own garden from scratch. Growing a vegetable, herb, or flower garden from seed is both economical and immensely gratifying. There is just something so exciting when you first see them break their little heads through the soil, and the excitement only continues as they become full-fledged, beautiful little plant babies. This handy guide touches on some of the basics of starting seeds in North Carolina, but there is plenty more to know as you get a head start on your garden in the new year.
Take a look through some common seed starting questions and how we would recommend starting your garden from scratch.
How To Choose Your Seeds
This may seem simple enough, but successful seed starting starts with, well…the seeds! There are a couple of things to keep in mind when selecting your seeds for the year. The first is your experience level. Some plants are easier to grow and tend to than others. While a more advanced gardener may enjoy the challenge of starting perennials from seeds, those of you who are newer to the seed starting game may want to stick to vegetables and annuals until you get your green thumb honed in a little more.
The other thing to consider is making sure that you choose seeds that will thrive in the environment where you live. The USDA divides the United States into several cold-hardiness zones, which are based on the average low winter temperatures. North Carolina’s hardiness zones range from 6a to 8a, so depending on where you are in the state, you will see more success with plants rated for your particular zone or lower. Doing this means your plants will have a higher chance of surviving the winter. Less commonly used, but just as important is the American Horticulture Society’s heat zone rating, which shows the average number of days above 86℉. Try to choose plants that can handle the hot summers.
What Is The Best Time To Start Seeds?
The best time to start seeds indoors will depend on where you live. As a general rule of thumb, it’s best to plant annuals approximately six weeks prior to the last frost you will see in your area, but there is some variation in this when it comes to cool season versus hot-season plants. While it can be tempting to get started growing your seeds indoors at the turn of the new year, starting too early can cause all kinds of headaches. There is a chance you may have to repot your seedlings into larger containers if they outgrow their current environment before it’s time to put them in the ground, or you may be tempted to plant them early and could risk them being hit by frost.
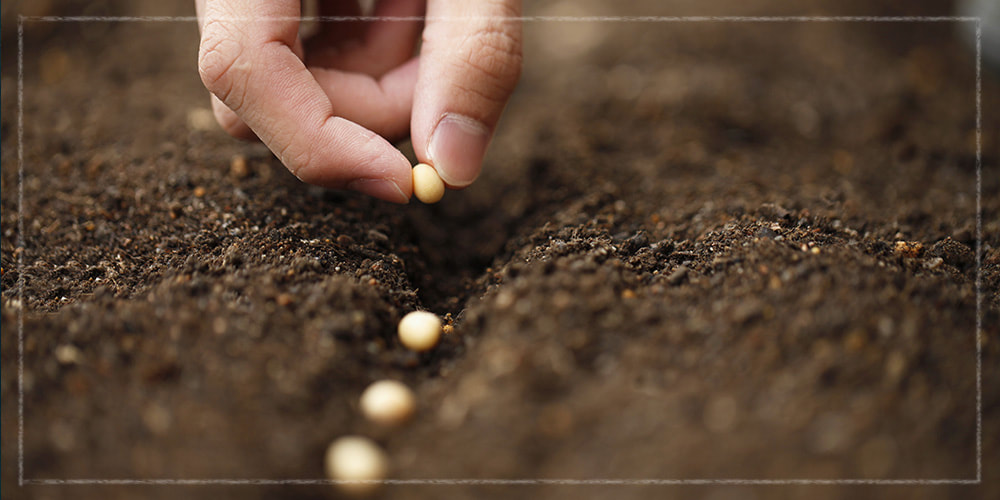
Be Sure To Space Your Seeds Properly
Spacing your seeds out according to the seed packet instructions will save you time and labor later on when you, undoubtedly, will need to do some thinning. While it can be tempting to stuff your containers with seeds in the hopes that you’ll have a better chance of germination, it’s not always the best approach. Providing space between the plants allows each seedling to soak up everything that it needs. Overcrowded seedlings can end up turning into weak plants with stunted growth. Indoor seeds can even end up with mold in the soil if left unthinned due to poor air circulation.
What To Do After Seeds Germinate
Once a seed has germinated, you want to give it the right amount of light, water, airflow, and food. Grow lamps are generally best kept about 2 to 4 inches above your seedlings, and you want to keep your soil moist, but don’t want to leave your seeds drowning in water either. If you notice the soil in your starting cells pulling away from the edges of the cell, your seedlings probably need water. To assist with airflow, you can set up a fan on a similar timer as your grow light, which should mimic the timing of sunrise and sunset.
How To Thin Seedlings
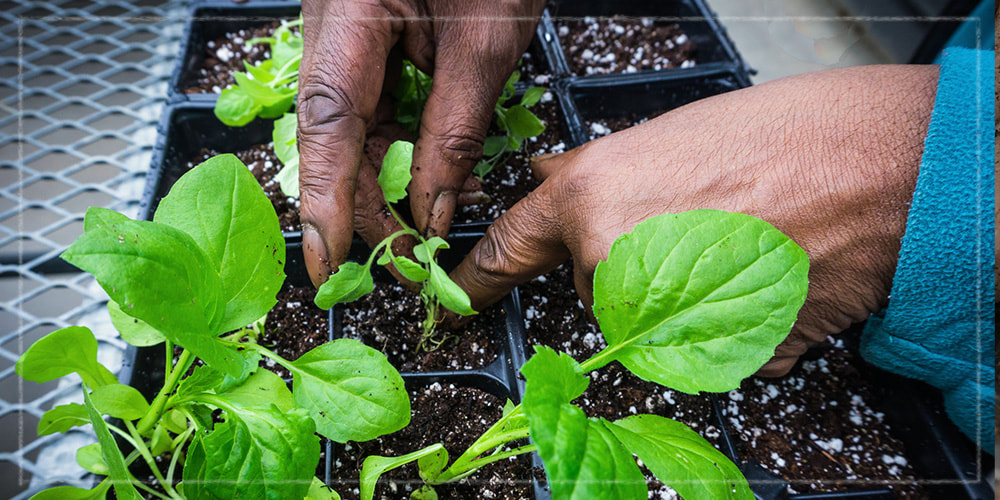
You will, inevitably, need to thin your seedlings a little. Thinning seedlings can be a bit of a depressing task. After putting all of that work in to bring those seeds to life, you have to decide who gets to stay and who gets the boot. But it is, unfortunately, an essential part of the seed starting process. What we mean by thinning seeds is removing some of the seedlings while they are relatively small to make room for the remaining plants to grow big and strong.
The trick to thinning seedlings is, rather than digging them out, you really just want to loosen the soil around them, so you can gently pull them out without disrupting all of their neighbors. Thinning can be done with a small knife, pencil, or any other small, sharp tool.
When To Thin Seedlings
Hopefully, you will have given your seeds enough space to begin with when you planted them, which will make the process a little less arduous. It’s best to thin seedlings by the time they are about 2 to 3 inches tall and when they have one to two sets of leaves. Trying to thin them any earlier than this may pose a challenge as it will be a little more difficult to grasp and pull them out.
Follow these simple steps, and you should have a beautiful, thriving starter garden! If you still have some questions or face any challenges, we’d be happy to help. Just give us a call or stop by the nursery.